This is a true story! I’ve been making Neapolitan style pizza dough in a food processor (I don’t have a Kitchenaid) and it bakes up with a puffy, crunchy crust outside and light, pillowy and chewy on the inside- everything I’ve hoped for!
Making a decent pizza crust is something I’ve struggled with for years. I followed recipes only to produce dough that sat like a rock in my stomach. For a while I went through a whole wheat period which resulted in something resembling cardboard.
Then last September, while in Syracuse, New York, I took a pizza making class with John Vigliotti, who owns a couple of restaurants. Peppino’s on Grant Boulevard serves typical New York style pizza, but the other in Armory Square focuses on Neapolitan style pizzas.
So what’s the difference between the two types of Pizzas? According to Vigliotti, who won 2nd place at the 2016 International Pizza Expo in Las Vegas, Neapolitan Pizza was the original deal. Made with only low gluten European flour, yeast, salt and water, it is highly digestible and has only a few, very fresh toppings. New York style pizza has a crust that can hold up to thick, spiced tomato sauce and a lot of cheese. It was designed to be eaten by the slice and carried around.
I’m sharing Vigliotti’s recipe for the home cook below. Since regular ovens only get up to about 500 degrees Fahrenheit- not the 900 to 1000 of a wood fired pizza oven- this recipe includes oil to achieve a crispy yet soft and airy crust. However, the real keys are using Caputo 00 flour (which I ordered on Amazon), making the dough a couple days before you use it, and letting the dough and toppings come up to room temperature before you assemble a pizza and bake it.
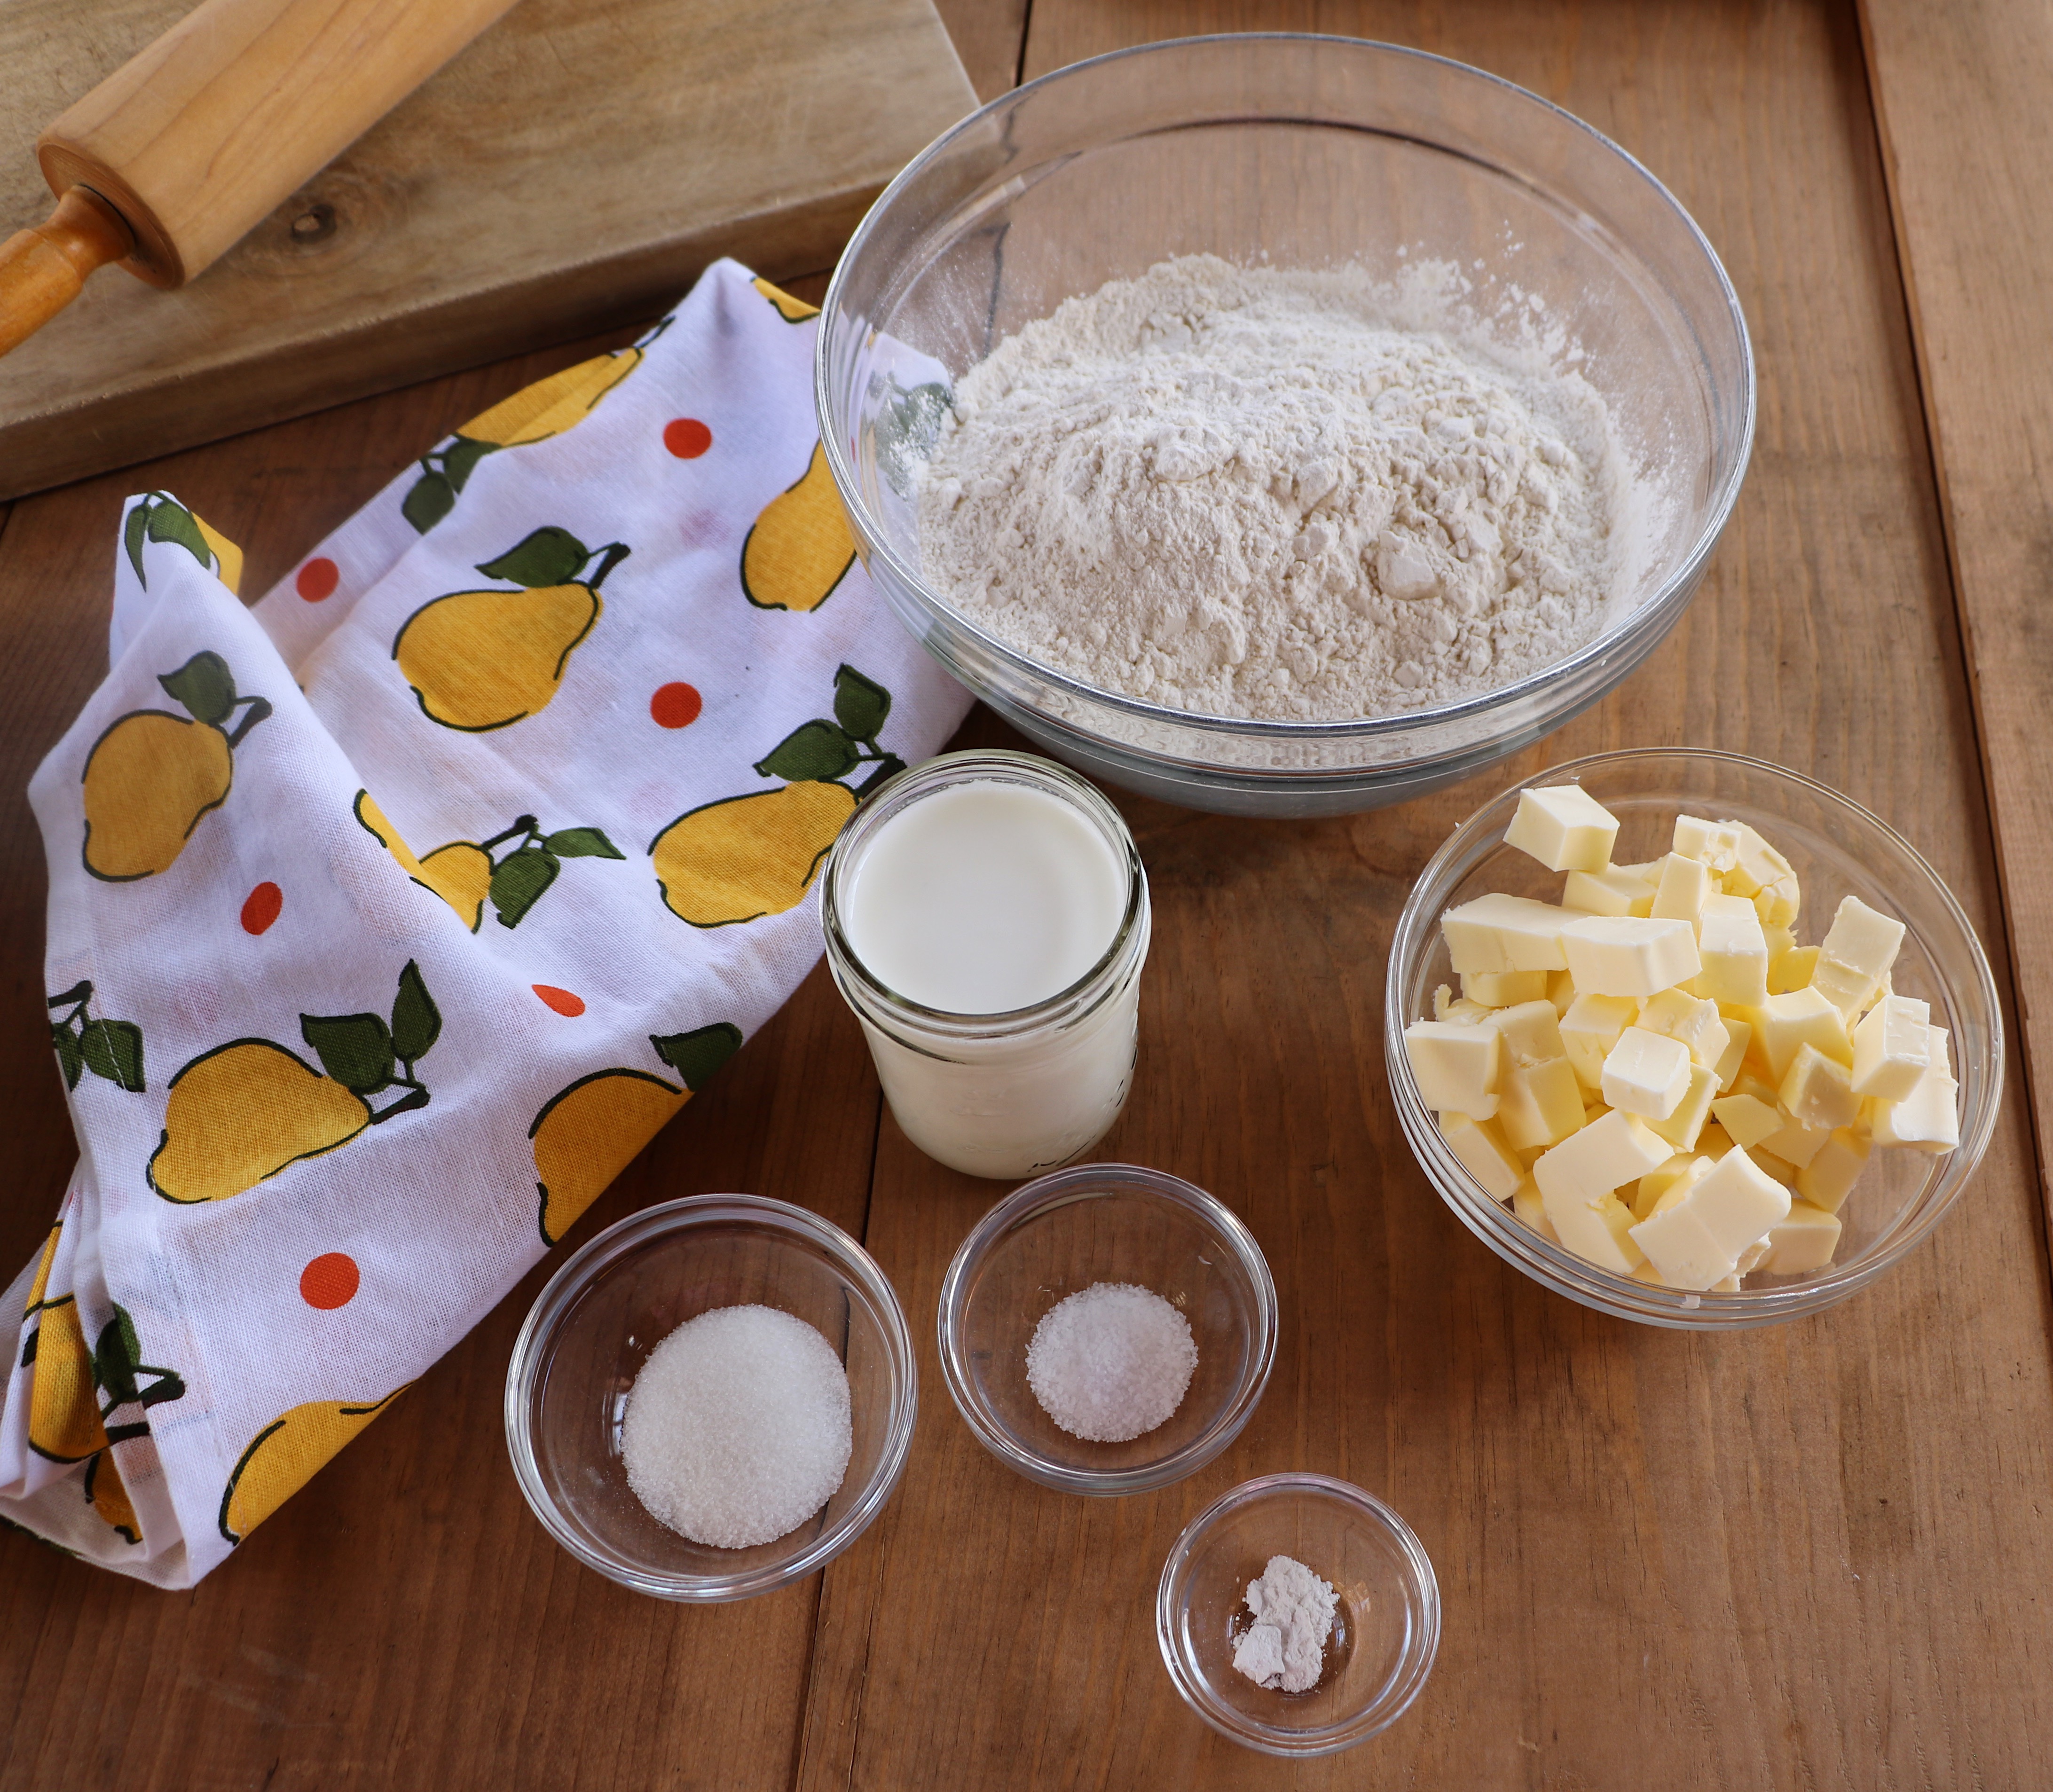
Ingredients for four 10 inch pizzas:
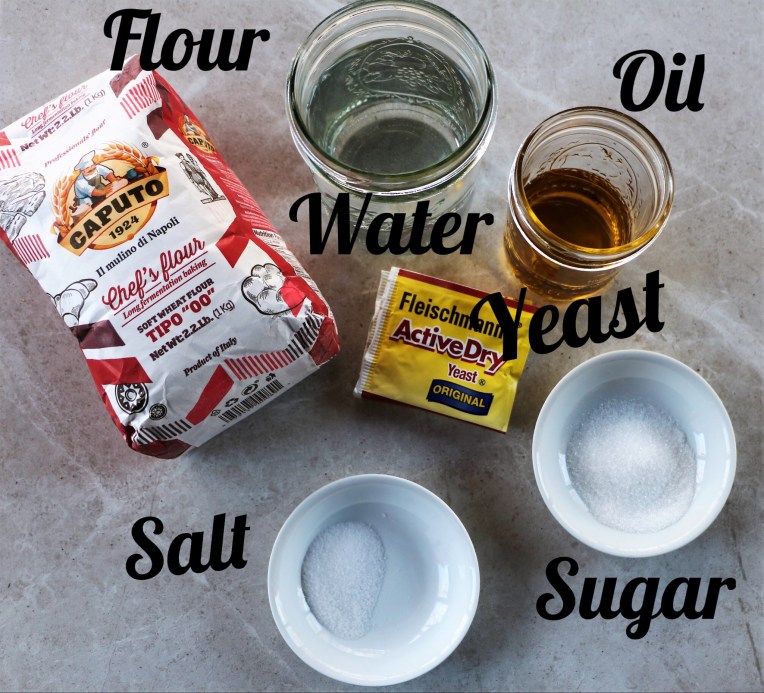
4 1/2 cups Caputo 00 flour
1 1/4 cups of cold water (warm water if the dough will be used that day)
1/2 cup of warm water (between 90 and 100 degrees Fahrenheit)
1 teaspoon active dry yeast
1 1/2 teaspoons sugar
1 1/2 fine sea salt
1/4 cup extra virgin olive oil
Directions:

Place the warm water in the bowl and sprinkle the yeast over it. Give it a whisk and set it aside.

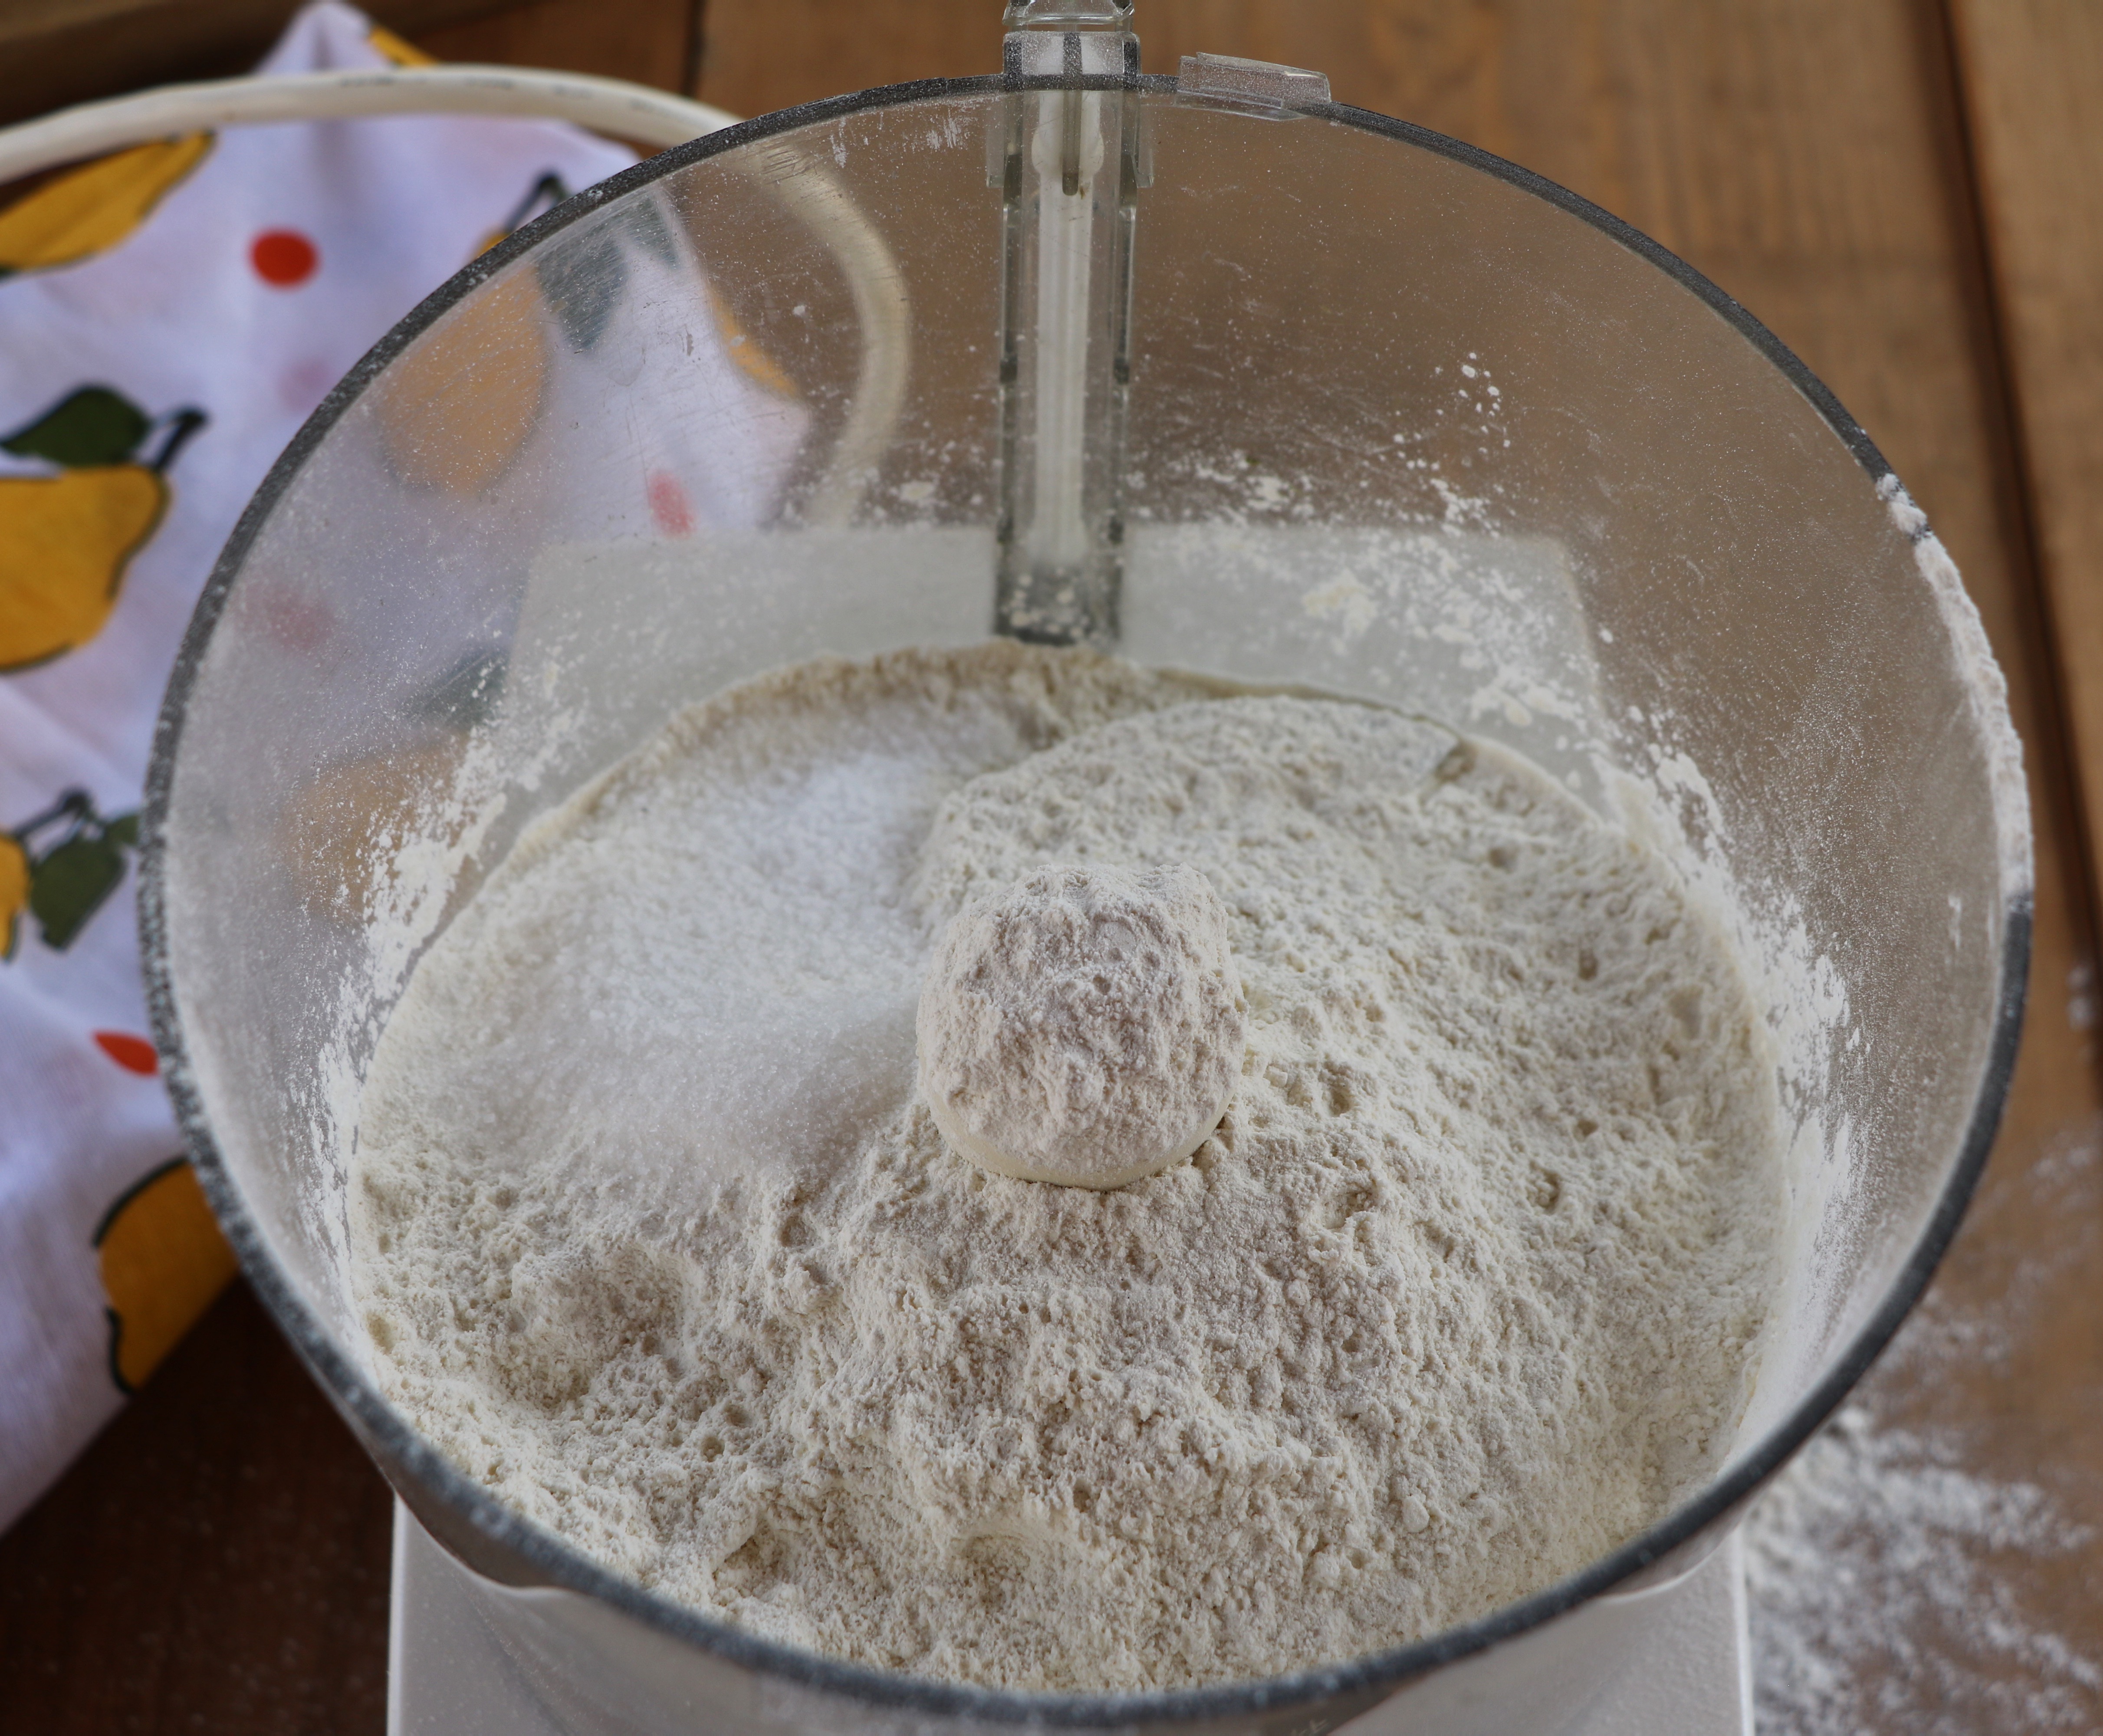
Attach the dough blade and pour the cold water into the food processor bowl.

Mix the flour and sugar together. Add to the water.
Turn the food processor on, wait 30 seconds and then pour in the yeast-water.
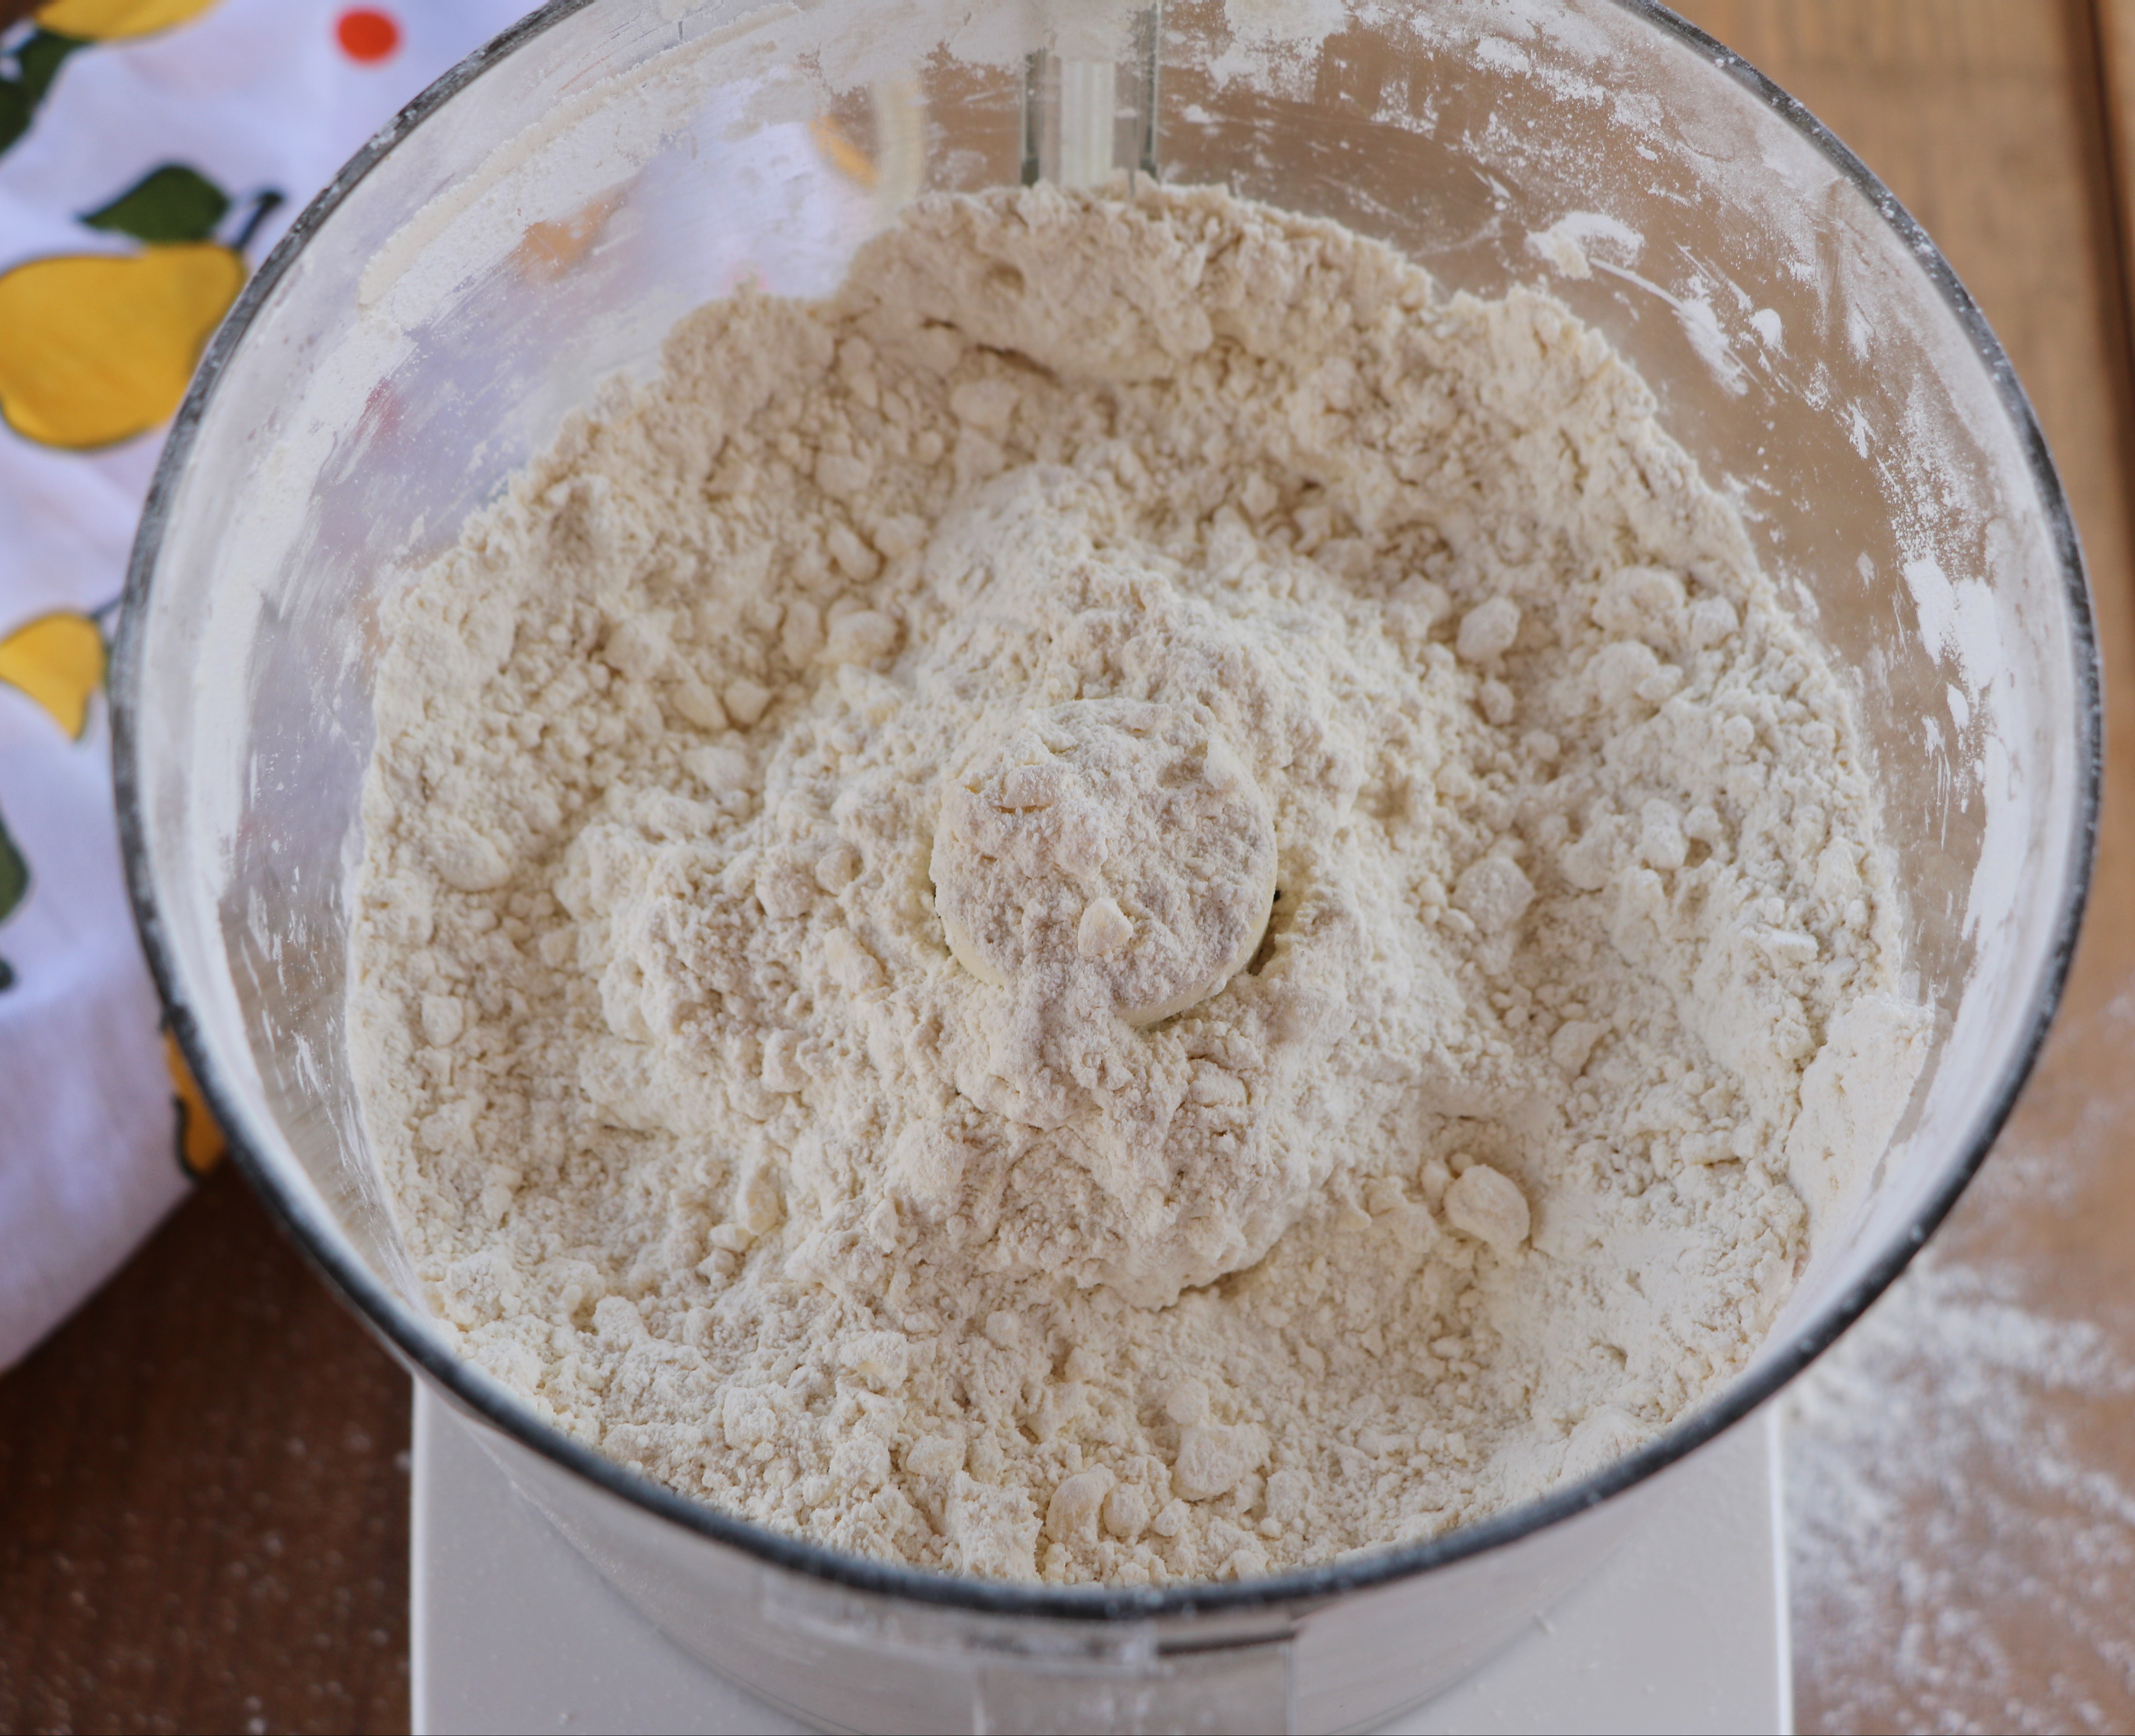
After the mixture comes together, with the food processor still running, add the salt.
Then slowly pour in the olive oil.
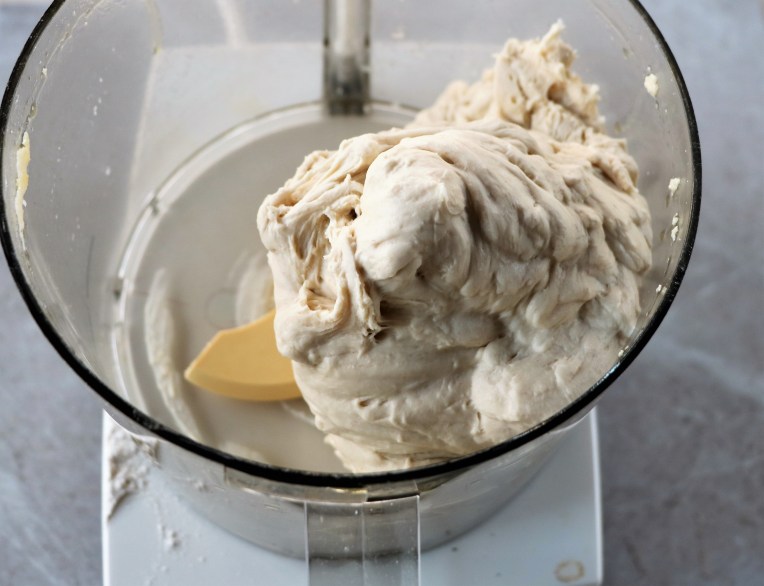
Continue running the food processor for 2 to 3 minutes. The dough will clear the sides of the bowl and look smooth. If it doesn’t clear sides of the bowl, sprinkle just a bit of flour in until it does.
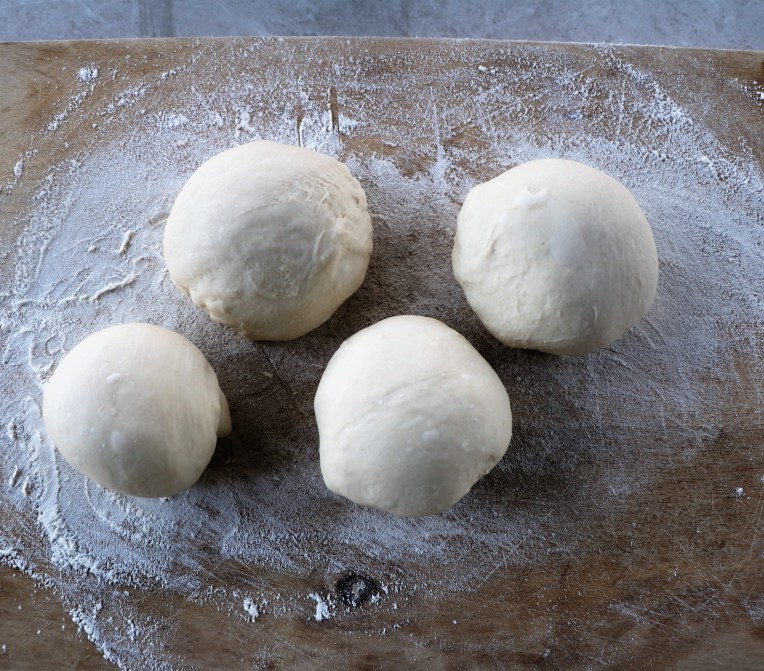
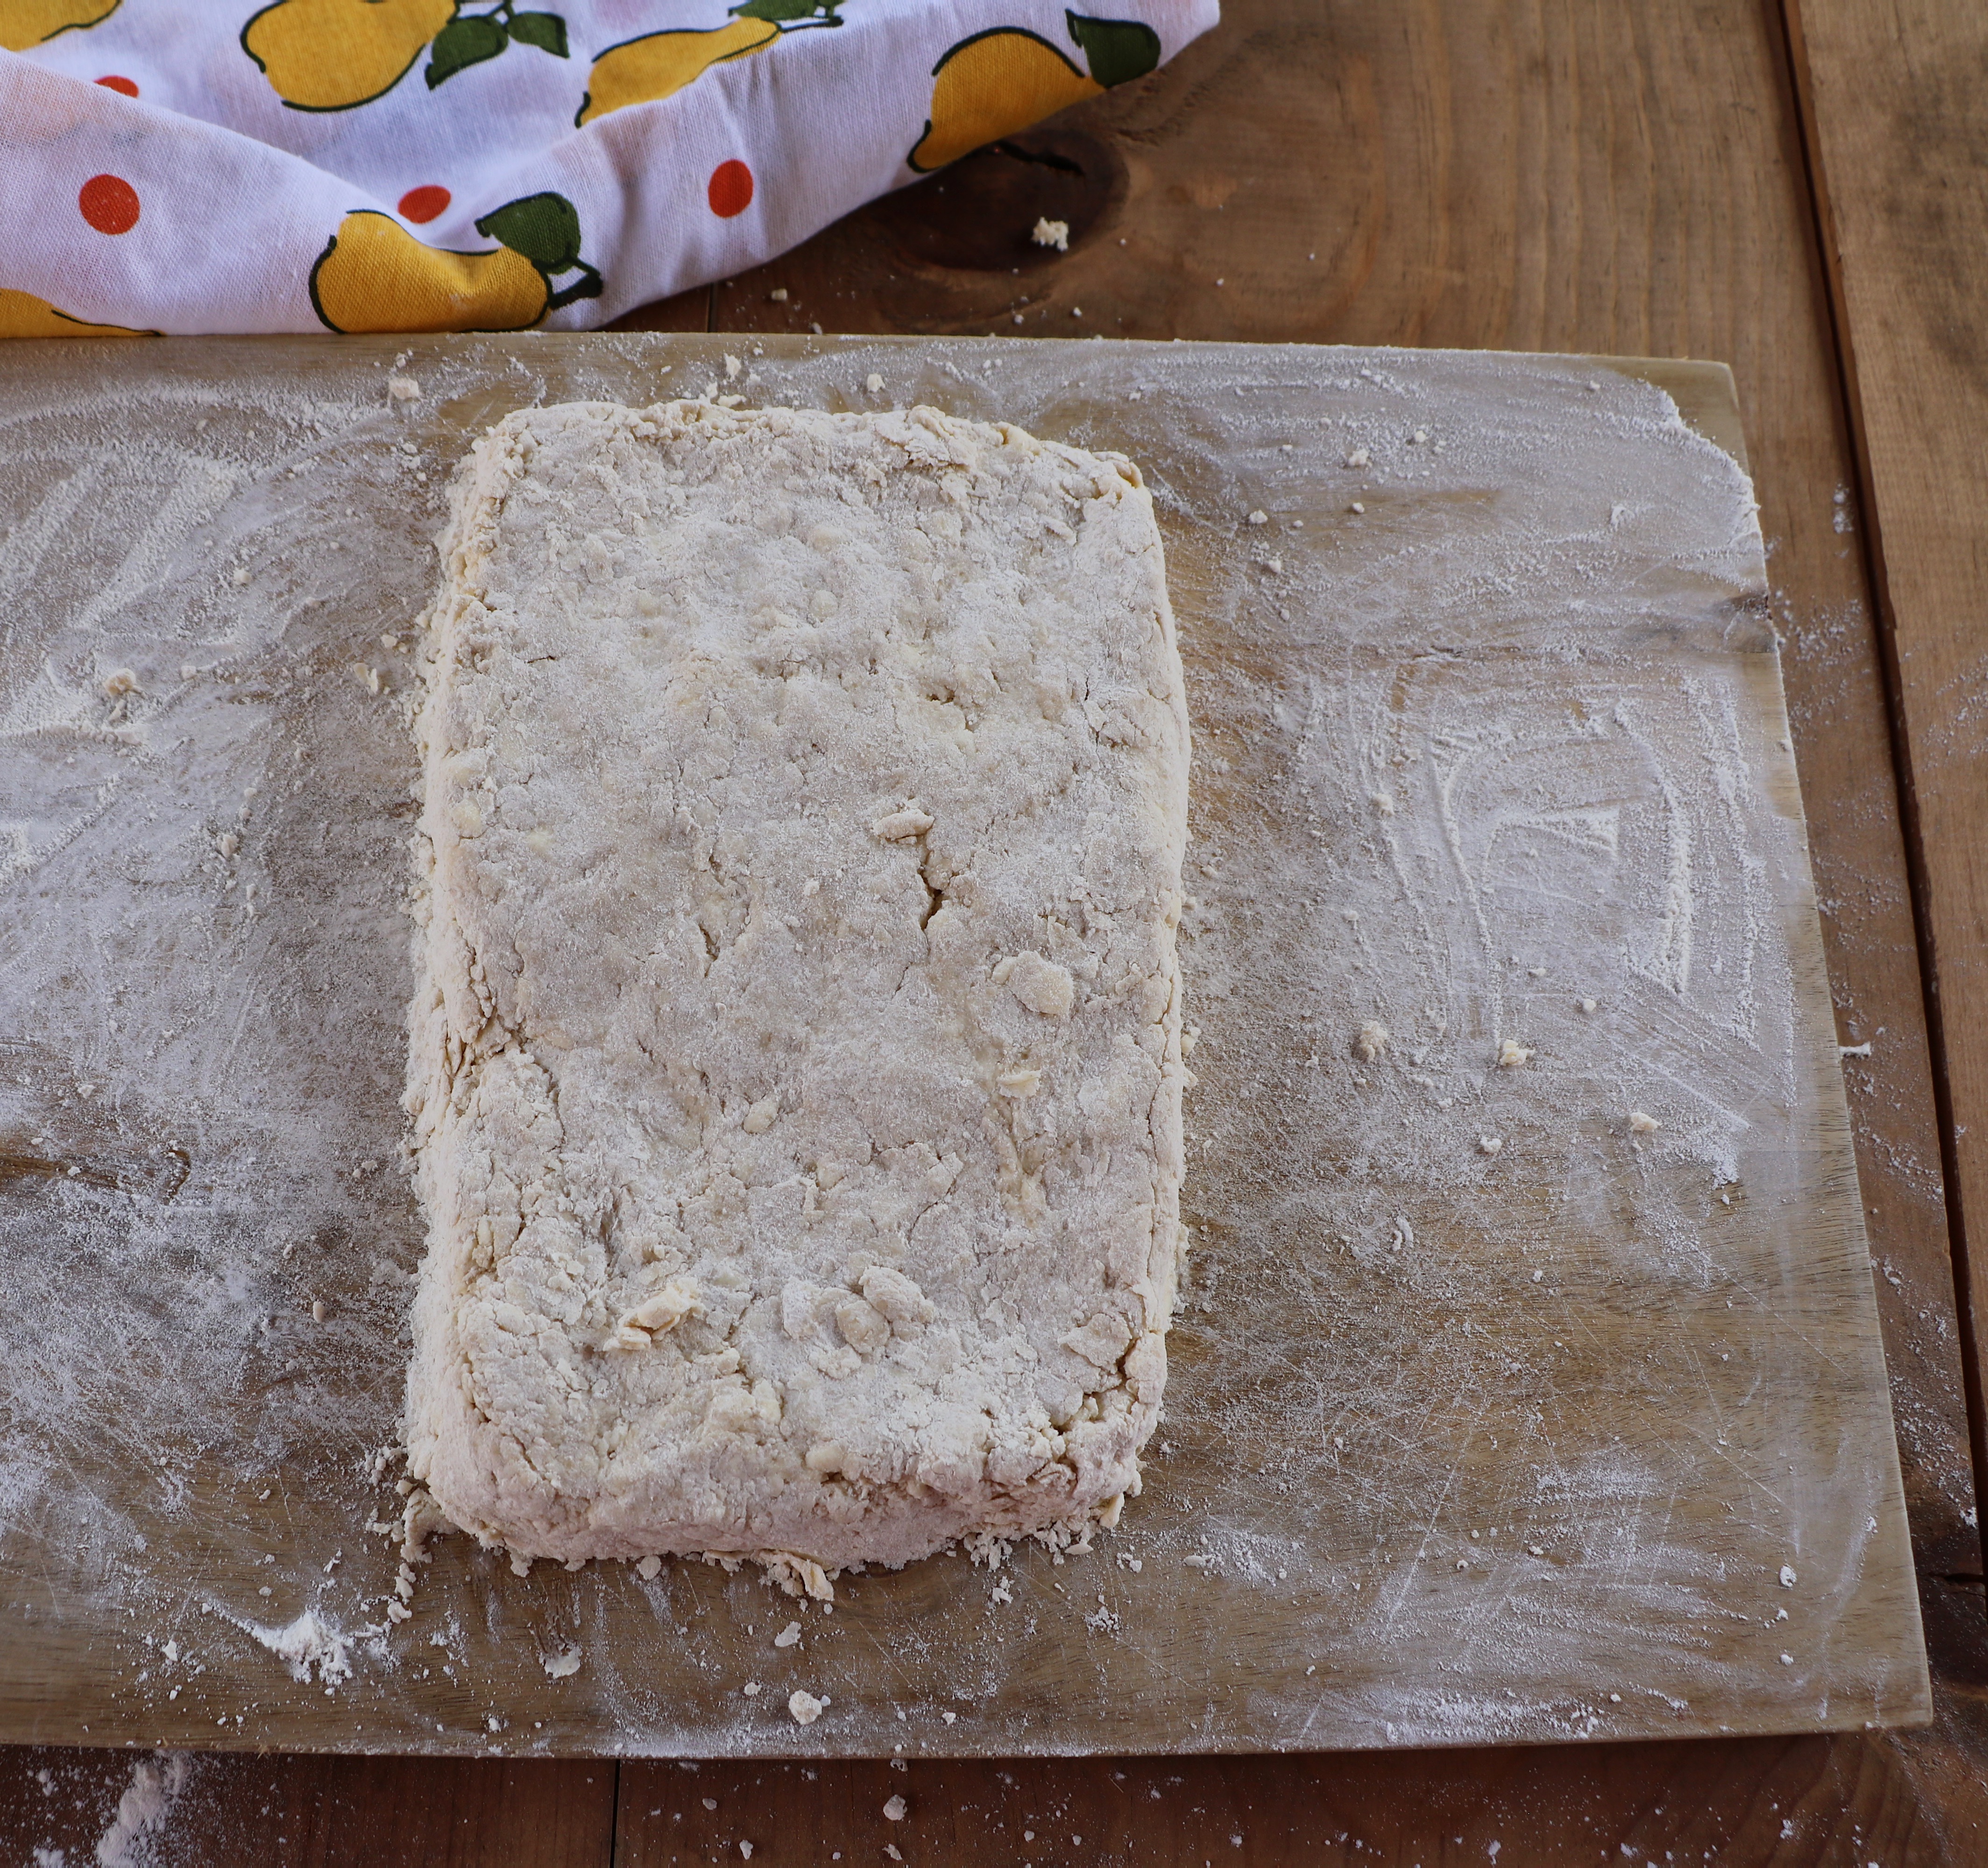
Remove dough from food processor bowl and place on floured cutting board. Divide the dough into into fourths. I actually used a serrated knife to cut the big ball into four parts. Pull each fourth down to create a firm ball and twist it closed on the bottom. (If dough seems too sticky, dust with just a sprinkle of flour.) Place in an oiled bowl. Cover with a piece of saran wrap and tightly seal the bowl with a tightly sealed lid or wrap it twice in saran wrap.
If using that day, allow the dough to rest 2 to 3 hours at room temperature. Or it can be kept in refrigerator up to 48 hours.
Take the dough out of the refrigerator a couple hours before making the pizzas.
Preheat the oven to 500 degrees Fahrenheit or as high as it can go. (I used my convection oven and set it to 500 degrees Fahrenheit.)
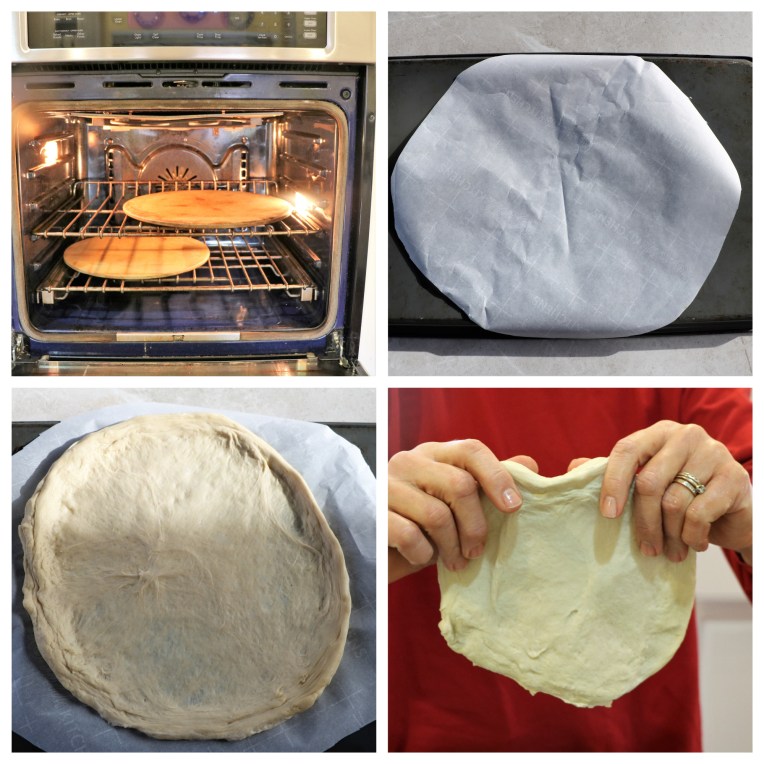
Place either a pizza stone or an upside down baking sheet in the oven while it is preheating. I used two pizza stones, one on the left side of the bottom oven rack and one on the right side of the top oven rack.
On another upside down baking sheet, place a piece of parchment paper that is slightly larger than a 10 inch pizza.
Working with one ball at a time, use hands to stretch dough into an oval shape by turning it round and round circularly until it is 1/4 inch thick. It will be thicker around the ages. Vigliotti said, “Let gravity stretch the dough as you hold it in the air and turn it around and around along the side crust. ‘Rolling’ with your fingers leaves a sort of air pocket along the sides of the resulting stretched out crust.”
Place the flattened dough on the piece of parchment paper atop the upside down baking sheet. Brush the outside edges of the dough with olive oil.
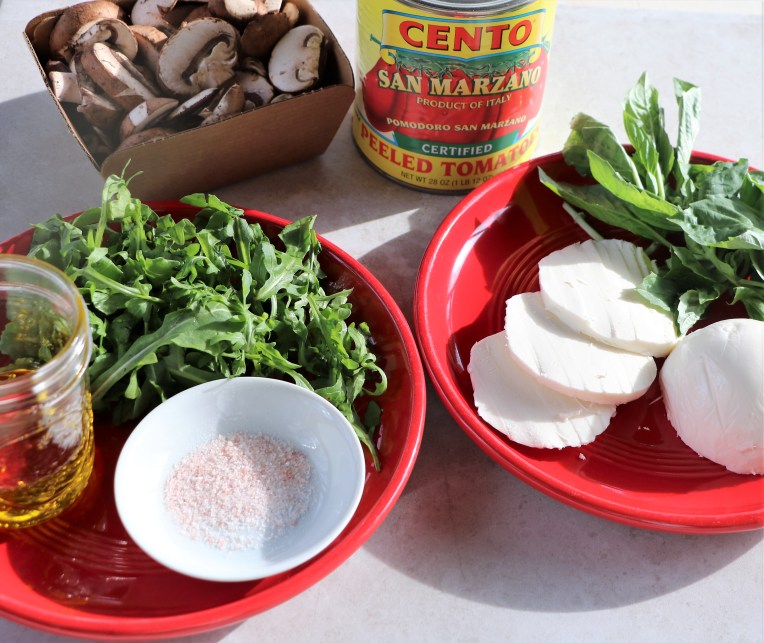
Above are some toppings and below are some suggestions. Anything goes: figs, Italian cured meats, etc. I’ve even had Neapolitan pizza finished with honey and hot paper flakes, But remember, less is more to avoid a soggy pizza. After putting the toppings on, use the upside down baking sheet as a transportation vehicle, and slide each pizza onto the top of a pizza stone or upside down sheet pan, parchment paper and all.

Bake 5 to 6 minutes until crust begins to brown. Then switch places in the oven, pulling out the parchment paper from underneath. Continue to bake another 4 to 5 minutes until crust is golden brown and cheese is melted.
Remove from oven, slice and enjoy.
Margherita Pizza:
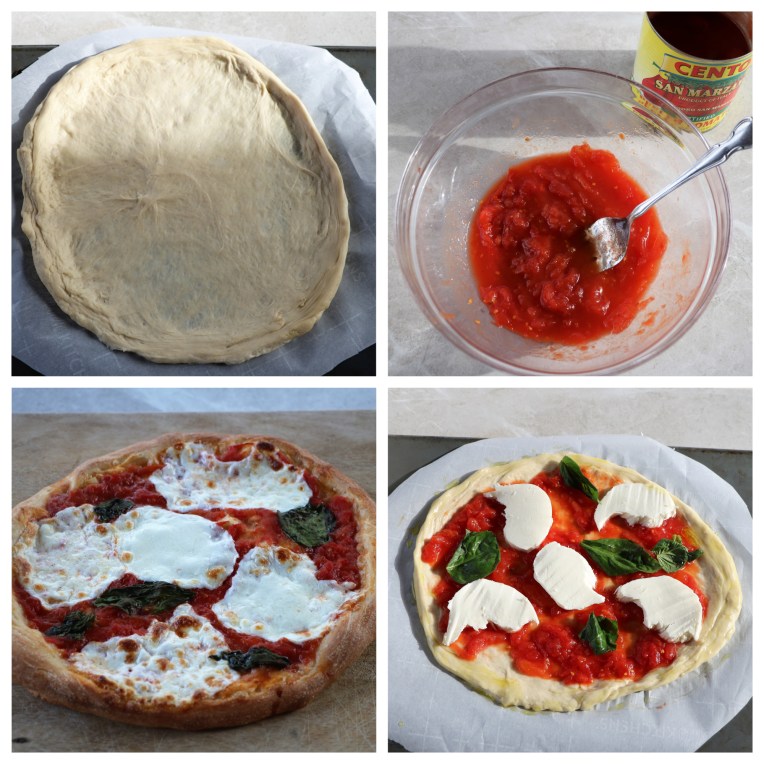
Crush San Marzano canned whole tomatoes, add 1 teaspoon sea salt per large can and spread on pizza.
Place slices of fresh buffalo mozzarella cheese and fresh basil on top of tomatoes.
Bake according the the directions above.
Mushroom and Greens Pizza:
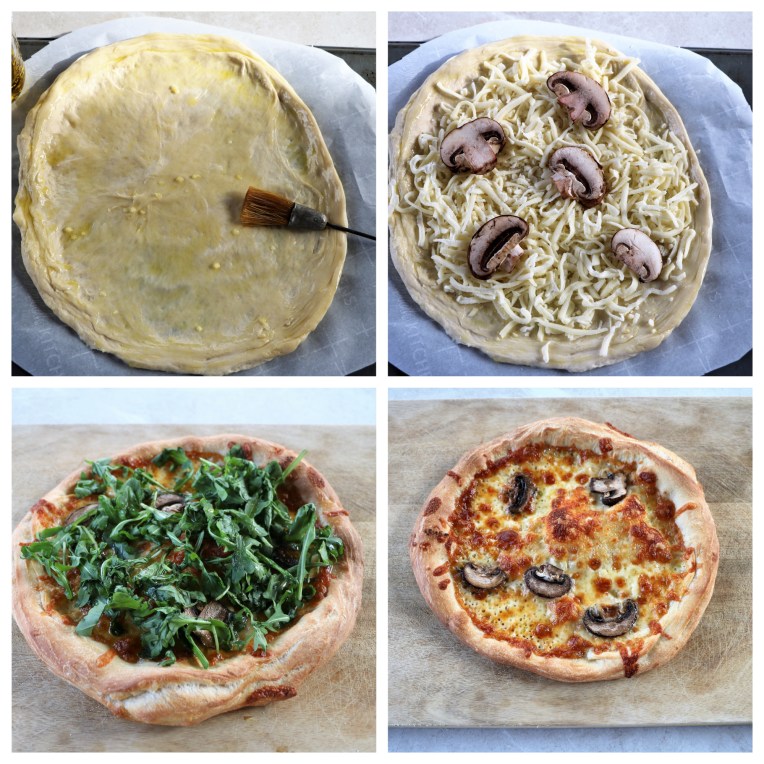
Brush surface of pizza with a bit of olive oil.
Put two cloves of garlic through a press and spread on top.
Sprinkle enough shredded mozzarella cheese to cover.
Add a few sliced mushrooms.
Bake according to directions above.
After removing from oven, put 1/2 cup arugula over the top.
Drizzle with olive oil and sprinkle with kosher salt or some good finishing salt like truffle salt.
The first time I tried baking this pizza dough, we had friends over for dinner. I shamelessly kept going on and on about how I loved the crust! While I was in love with the pizza, my guests raved about the salad. It was just greens dressed in a basic vinaigrette and things I got from the olive bar at our local grocery store such as marinated artichokes and roasted tomatoes. If anyone out there tries this pizza, I’d love to hear how your experience went. Feel free to email me at yatesyummies@gmail.com .
Pin It!


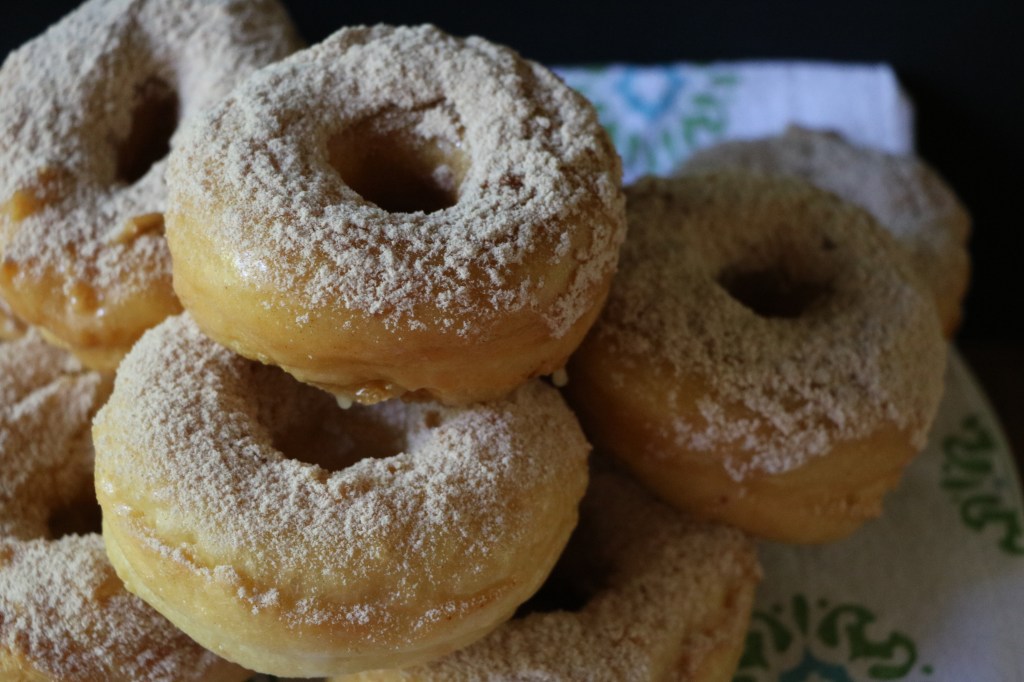
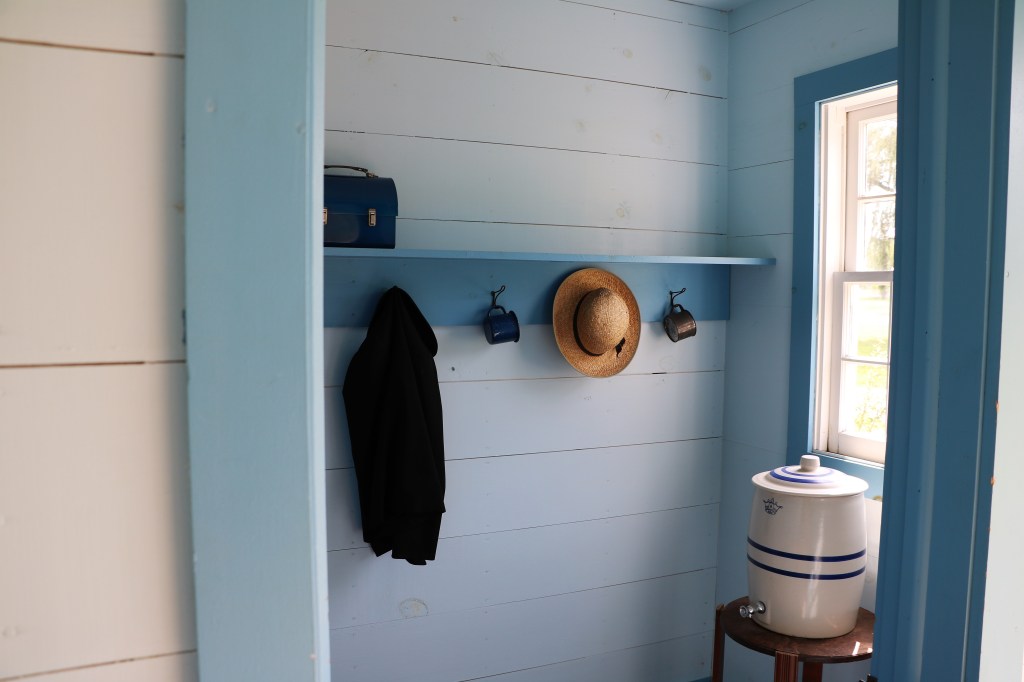
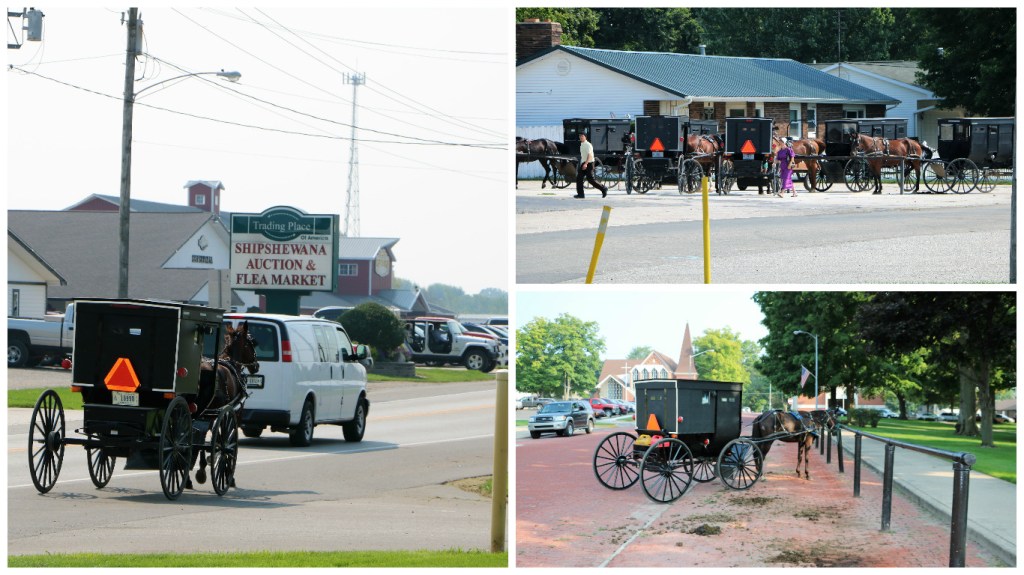
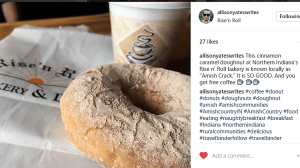 When Allison came home after spending a day in Northern Indiana doing research for an article she is writing about the Amish community and the RV industry, she told me she had sampled the best doughnut of her life. She said the locals call them “Amish Crack” because they are so delicious and addictive. I’m not a baker; most of my cooking involves dishes that are tasty – but fast! (Visit the